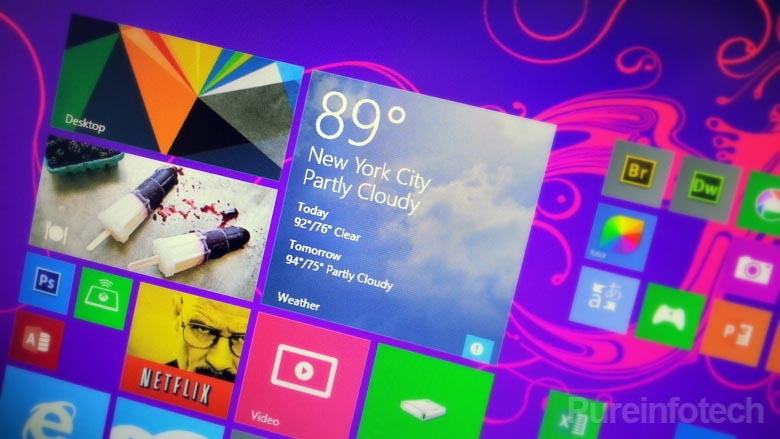
Back to the drawing board, previously we looked at the Start screen being a new ?reimagined? experience in Windows 8 that replaces the iconic Start menu, with a full-screen dashboard fill with live tiles that light up every time there is an update. Now in Windows 8.1, Microsoft is adding several new changes to the Start screen that makes the experience more customizable, functional, and productive. In my opinion it also brings back some of the familiarities from the old Start menu that people were used to.
What follows is purely an update that will describe the new changes and improvements. I recommend you to check this article (Windows 8 Start screen: In-depth overview and customization of the new UI experience)?to get more information about the Start screen and to understand the difference of what have changed.
Start screen tiles
Although at first glance you may not notice, the Start screen in Windows 8.1 includes new tile sizes, now there are four different sizes (small, medium, wide, and large), which by the way will remind you to the Windows Phone 8 home screen. This adds new benefits to the experience, first?users will be able to fit a lot more apps and links in the same space without having to scroll to the right, and second the large tile view allows apps to show more information. For example, the Weather app can now show up to three days extended forecast and three different cities weather, and the News app show larger images and up to three headlines, all without even having to open the app.
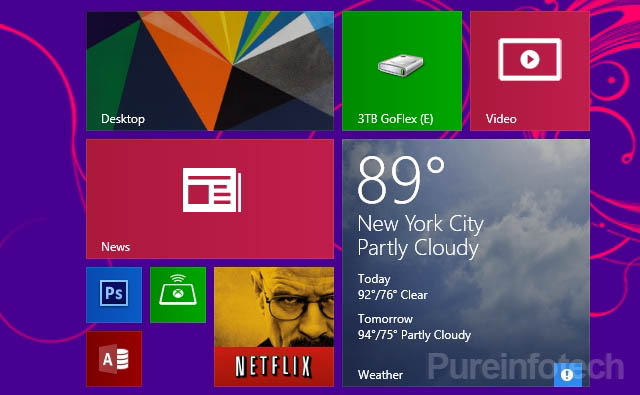
- Here is how to resize a Windows 8 app ? Select an app tile, click or tap Resize and select from one of the available views.
- Use the large tile view on the Photo app to see a slide show of images like a picture frame.
- Only modern apps support all four sizes, links only support medium and wide.
Another important change with Windows 8.1 is the ability to change settings to a group of tiles. For example, now it?s possible to resize, turn live tile off, and uninstall a group of apps with a single click.
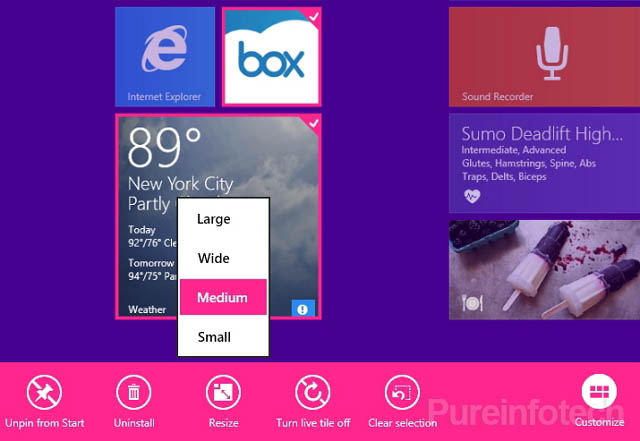
Microsoft also replaced the All apps option from Start?s App command with a Customize option. Now in Customize, it?s possible to do everything I just mentioned, plus you can name groups (previously this option was available within semantic zoom) or relocate a group of tiles.
Apps
The Start screen in Windows 8.1 incorporates a new down-arrow button on the bottom-left corner of the screen to view all the apps in your PC. This button is always showing on touch enabled devices and on desktop computers will only appear when the mouse cursor gets closer to the to the left corner.
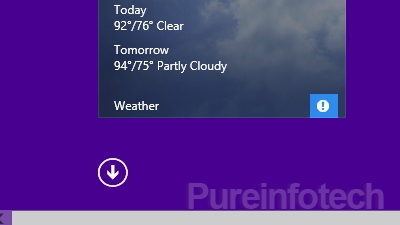
The new Apps view you can think of it as the ?All programs? in Windows 7, but much more improved. Also from this view you can sort desktop and modern apps by date installed, name, most used, and category. (You?ll also notice that newly installed apps have a ?NEW? label, which is an useful reminder that you have yet to open new apps.)
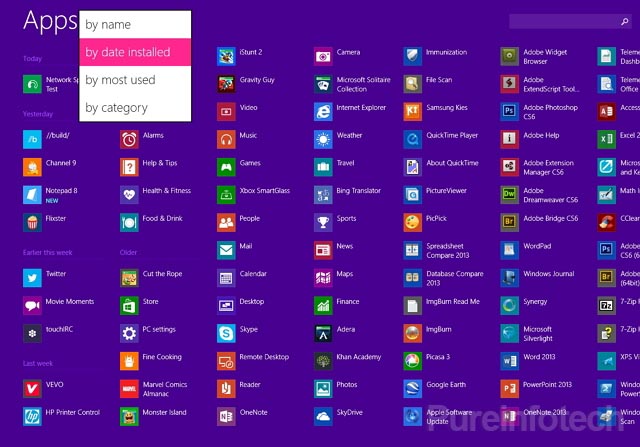
Also newly purchased apps from the Store don?t appear in the Start screen anymore, and this is a good thing to keep Start clean and uncluttered. This means that by default new apps will show up in the Apps view.
Finally, Microsoft included a search box in the top-right corner to make it a lot easier to find apps.
Pinning to Start
Pinning and?unpinning a tile remains the same, just right-click a tile a select Unpin from Start or go to the Apps view, right-click or tap an app and select Pin to Start.
SEE ALSO: How to pin an IE11 website shortcut to Start on Windows 8.1
Personalize the Start screen
Windows 8.1 brings new personalization options to the Start screen and those options are now relocated in the Settings menu. There are new image patterns and colors you can choose from, and you can even set your current desktop wallpaper as the Start background. (To learn how to this and more, read this previous Windows Guide.)
Start screen on PC settings
Even though all the configuration options should be in one place, this isn?t true, not at least for the Start screen in Windows 8.1. There are more options that can be configured other than colors and backgrounds. For example, with the deep integration of SkyDrive on Windows 8.1, you can now sync different Start settings, such as Start screen tiles and tile layout; colors, background, lock screen, and account picture; themes, taskbar, installed apps and more, across PCs for a more consistent experience.
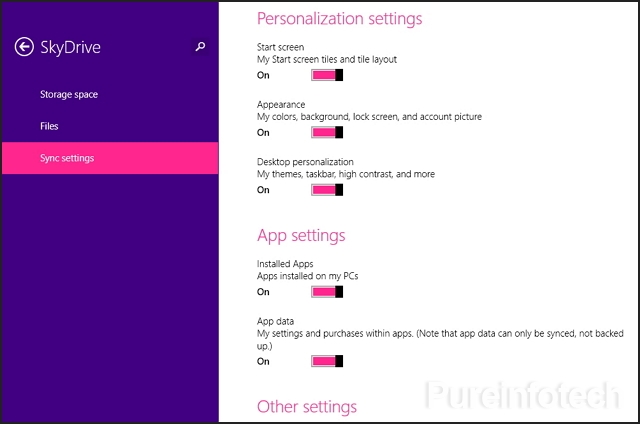
There is no doubt that all these new features in the Start screen will make more useful than ever before, but there is always room for improvement. For example, I would like to see an option to save various custom personalization settings and the ability to share these settings with other people, perhaps even include the Start screen Personalize settings with the Windows Themes.
What do you think about the new Start features on Windows 8.1? Leave your notes in the comments.
SEE ALSO: Windows 8.1 Guide: Lock screen overview and new personalization
Source: http://feedproxy.google.com/~r/Pureinfotech/~3/XFVFiJFTmW8/
mumford and sons Pokemon X and Y Apple Developer PS4 iOS 7 tim tebow Mac Pro
No comments:
Post a Comment
Note: Only a member of this blog may post a comment.